If you’re looking to achieve long, luscious lashes without the salon visit, DIY lash extensions might be the perfect solution. Doing your own lash extensions can be both cost-effective and rewarding, giving you the stunning lashes you desire from the comfort of your own home. Here’s a comprehensive guide on how to DIY lash extensions safely and effectively.
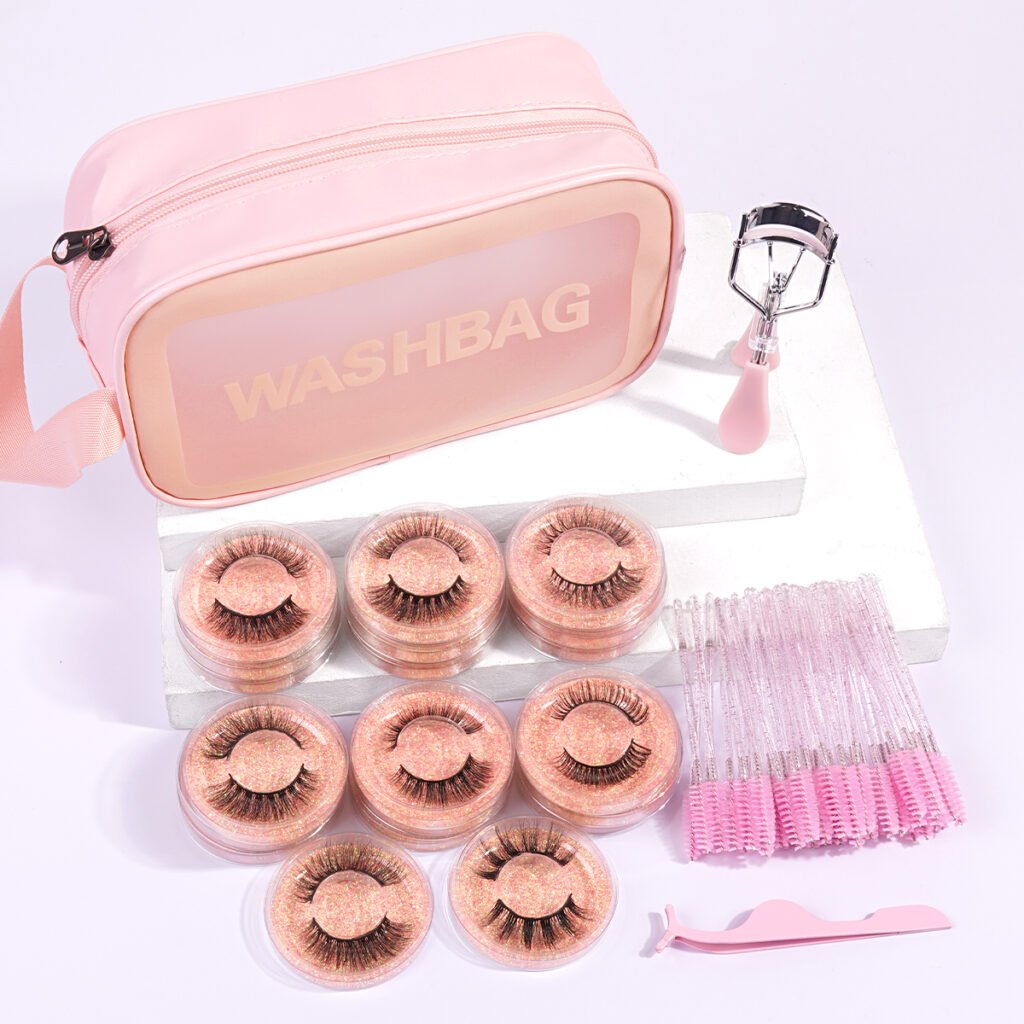
What You’ll Need:
- Lash Extensions: Choose from individual lash clusters, volume fans, or classic lashes, depending on your desired look.
- Lash Glue: Opt for a high-quality, semi-permanent adhesive designed for lash extensions.
- Lash Tweezers: Precision tweezers will help you apply the extensions accurately.
- Lash Cleanser: To clean your natural lashes before application.
- Spoolie Brush: To brush through your natural lashes and the extensions.
- Lash Remover: For safely removing the extensions when needed.
Step-by-Step Guide:
Step 1: Prepare Your Natural Lashes
Start by thoroughly cleansing your natural lashes with a gentle, oil-free lash cleanser. This removes any dirt, oil, or makeup residue, ensuring the adhesive bonds properly. Brush through your lashes with a spoolie brush to separate them and create a smooth surface for application.
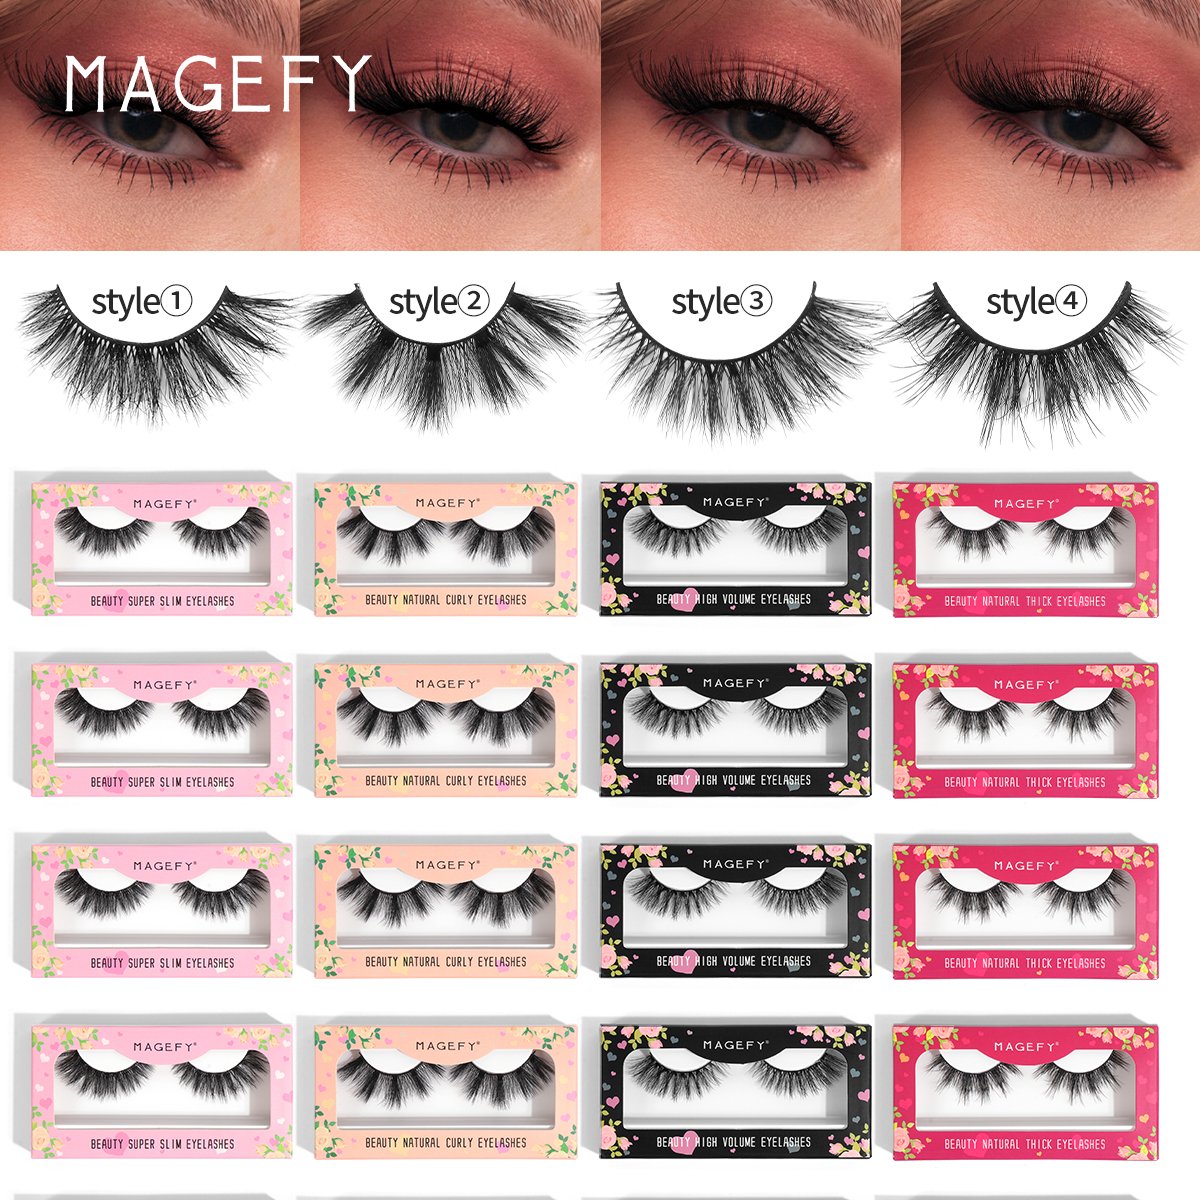
Step 2: Choose Your Lash Style
Decide on the look you want to achieve. Classic lashes offer a more natural appearance, while volume fans provide a fuller, more dramatic look. Individual lash clusters can give you a customized blend of both. Organize your chosen lashes on a clean, flat surface for easy access.
Step 3: Apply the Lash Glue
Using your precision tweezers, pick up a lash extension by the tip. Dip the base of the extension into a small drop of lash glue. Be careful not to use too much adhesive, as this can cause clumping and discomfort.
Step 4: Apply the Extensions
Starting from the outer corner of your eye, gently place the lash extension onto your natural lash, about 1-2mm from the lash line. This prevents the adhesive from touching your skin, reducing the risk of irritation. Hold the extension in place for a few seconds to allow the glue to bond. Continue this process, working your way inward towards the corner of your eye.
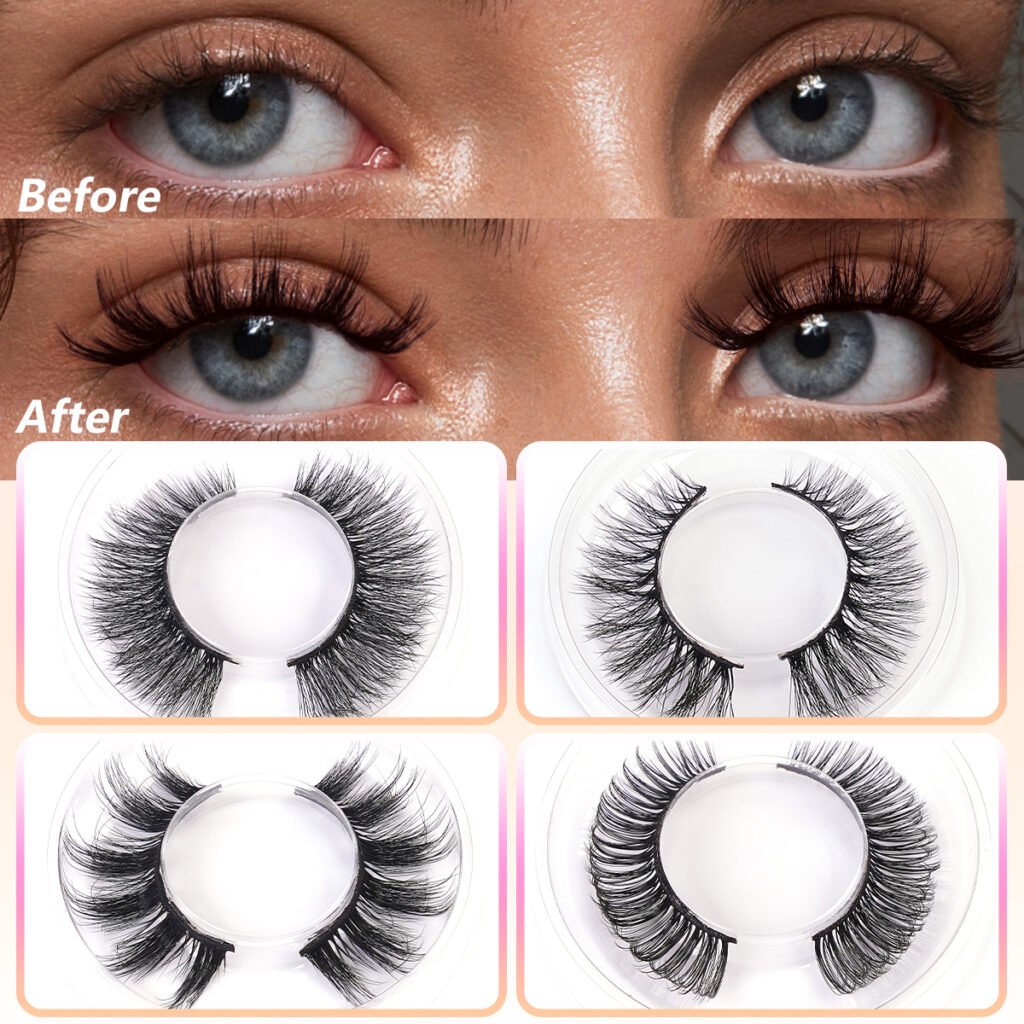
Step 5: Layer for Volume
If you’re aiming for a fuller look, apply additional layers of lash extensions. Place the second layer slightly above the first to create a natural, voluminous effect. Be sure to evenly distribute the extensions to avoid unevenness.
Step 6: Final Touches
Once all the extensions are applied, use a spoolie brush to gently comb through your lashes. This helps blend the extensions with your natural lashes and ensures they’re evenly spaced. Allow the adhesive to fully dry, typically taking a few minutes.
Step 7: Care and Maintenance
To maintain your DIY lash extensions, avoid getting them wet for the first 24 hours. Be gentle when cleansing your face, and use a lash-safe cleanser. Avoid oil-based products around your eyes, as they can break down the adhesive. Brush your lashes daily with a spoolie brush to keep them looking neat and separated.
Tips for a Successful DIY Lash Extension Application:
- 1. Take Your Time: Rushing can lead to mistakes and frustration. Patience is key to achieving a flawless look.
2. Practice Makes Perfect: If you’re new to lash extensions, practice applying a few lashes before committing to a full set. This helps you get a feel for the process.
3. Safety First: Always use products specifically designed for lash extensions and follow the instructions carefully to avoid irritation or damage to your natural lashes.
Conclusion
DIY lash extensions can give you salon-quality lashes at a fraction of the cost. With the right tools and techniques, you can achieve a stunning look that enhances your natural beauty. Follow this step-by-step guide, practice regularly, and soon you’ll be a pro at applying your own lash extensions. Happy lashing!